Using Kali Linux on macOS through VirtualBox
For this walkthrough I’ll be going over my ideal setup on how I use Kali Linux in macOS. As of this writing I’m using VirtualBox 6.1.6 and Kali Linux 2020.2 VM.
Download VirtualBox and Kali Linux Virtual Appliance (.ova)
Download the latest version of VirtualBox for OS X Hosts.
On the same page download the VirtualBox Extension Pack for all Platforms. This is used by the Kali Appliance during the import step later.
Next on the Kali Linux Downloads page, follow link to get the VirtualBox appliance .ova file.
Run VirtualBox Installer
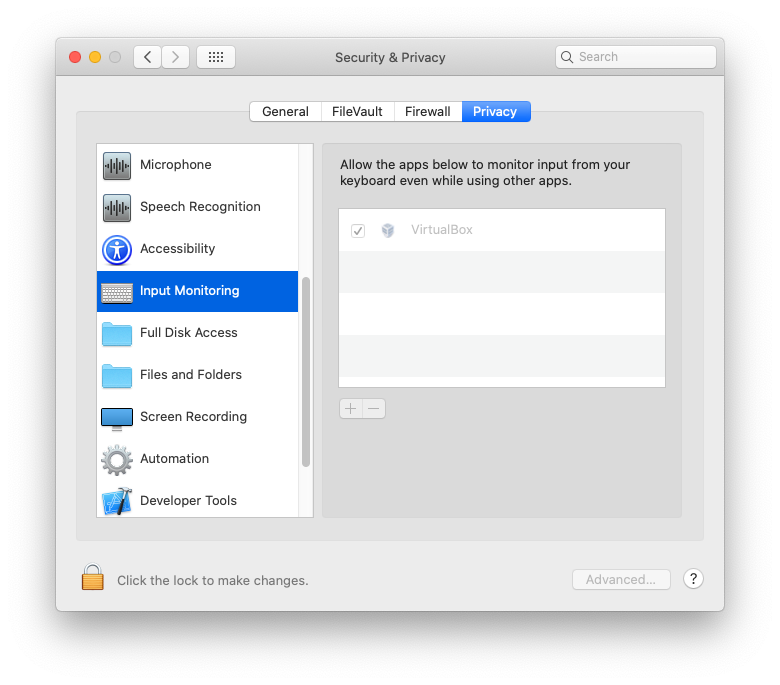
Open and run the installer. If you get errors during the installation make sure to allow all permissions in the security & privacy section. There will be a couple of permission that need to be enabled for VirtualBox to install properly.
Once VirtualBox is installed run extension pack (*.vbox-extpack). I wasn’t able to get Kali to launch properly without this.
Import Kali Linux Appliance
In VirtualBox click File > Import Appliance and select the .ova file downloaded earlier. Keep all the defaults and click continue.
Running & Setup
Start the VM normally. If everything runs successfully you should see a login screen. Default credential is “kali” for both username and password.